OPFEM-DOC
Installing Python and Creating Environments with Conda in Terminal-An Example
Creating a Conda Environment with Python 3.10
Begin by opening your terminal and executing the following command:
conda create --name OPFEM3.10 python=3.10
In this command, “OPFEM3.10” is the name I’ve chosen for my project’s environment. You’re free to pick a name that suits your project. Conda will now verify and set up the environment for us.

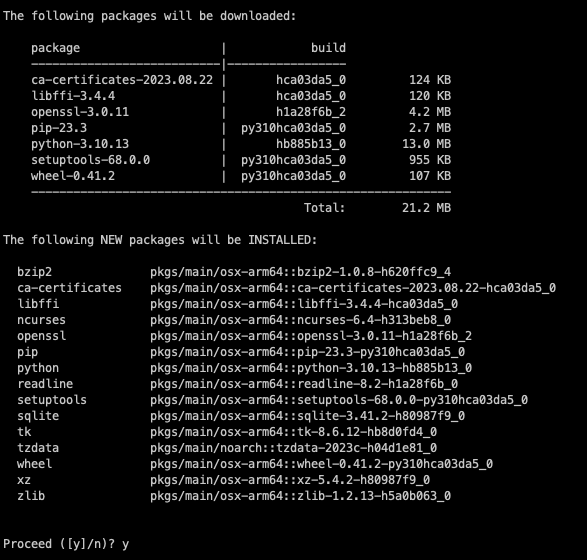
Confirmation and Installation
After a brief wait, the terminal will prompt you with a confirmation message. You can proceed with the installation by typing “y” and hitting Enter.

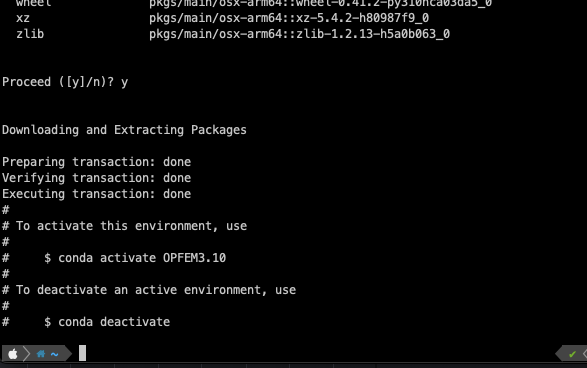
Installation Complete
Once the installation process is complete, you’ll receive information confirming the successful creation of the environment.

Verifying the Environment
To ensure that the environment was installed correctly, you can verify its existence by running the following command:
conda env list
This will display a list of all your Conda environments, including the newly created one.
Additionally, activating the ‘OPFEM 3.10’ environment and inspecting the terminal information is a swift way to verify the installation.

Using the Conda Metapackage (Optional)
If you want to include commonly used third-party packages like numpy, pandas, and pyqt, you can modify the command slightly. Add “anaconda” at the end of your create environment command:
conda create --name OPFEM3.10 python=3.10 anaconda
This will install additional packages to your environment for enhanced functionality.

This process illustrates the steps for creating a Conda environment with Python 3.10 and additional packages if desired. It’s a powerful approach to isolate your projects and manage dependencies effectively.